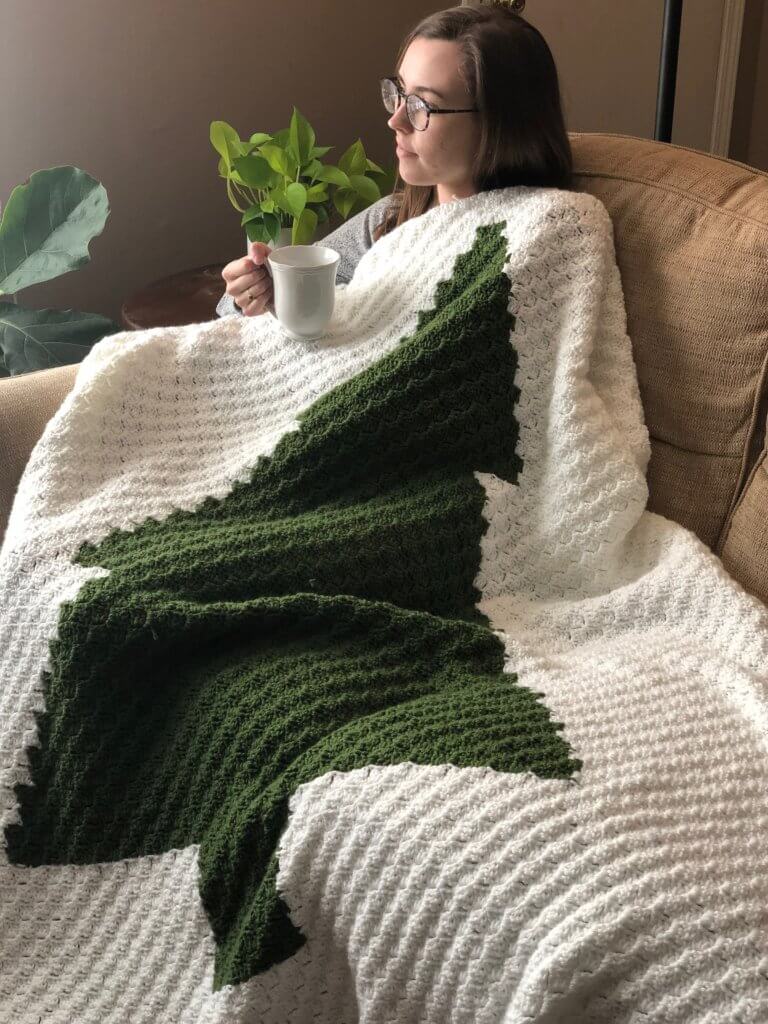
How to change colors seamlessly in corner to corner crochet. Learn how to get perfect color changes in all of your c2c projects without a million ends to weave in! Scroll down for my in-depth, FREE tutorial!
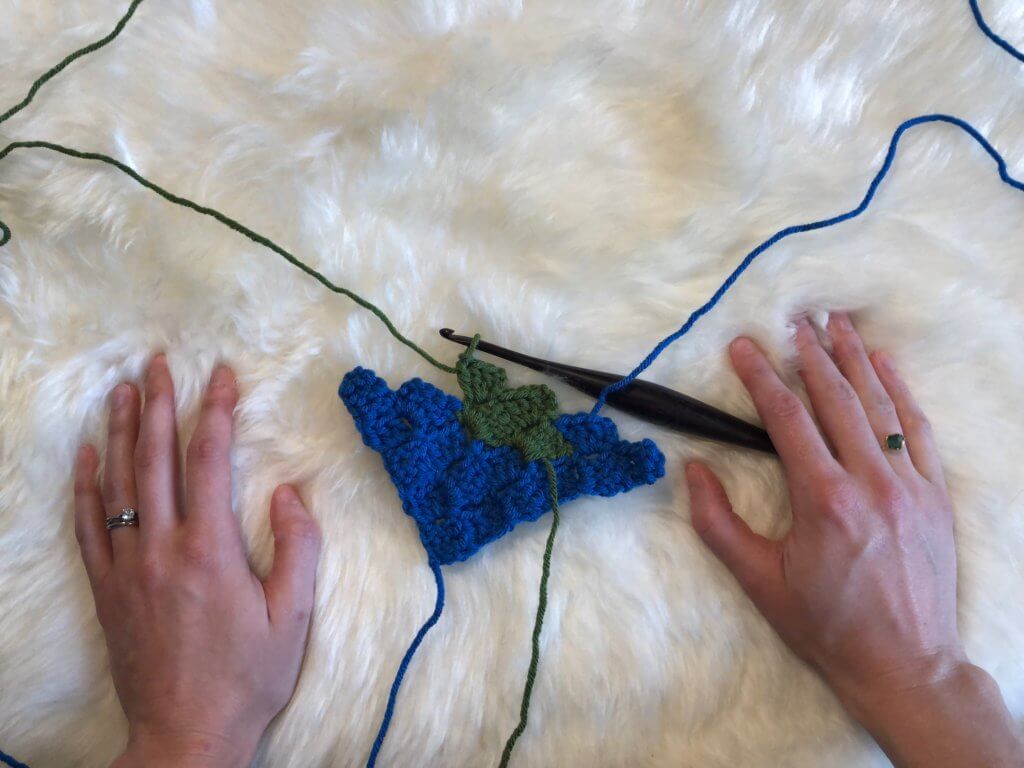
Today I’m here to share with you all of my tips and tricks to get seamless color changes in corner to corner crochet.
If you have no idea what in the heck corner to corner (c2c) crochet is, check out my beginner tutorial HERE to learn everything you need to know about the basics of c2c!
Color changes in crochet have always been a little intimidating to me, and I don’t think I’m alone in that. Why do you think self-striping yarns have been so popular in recent years? Color changes mean lots of counting, lots of tangled yarn, and LOTS of ends to weave in. Well, I have good news for you! Color changes don’t have to be complicated, especially in c2c crochet, and I’m going to show you how to do it!
This tutorial on c2c color changes will include:
- How to get seamless-looking color changes on BOTH sides of your c2c project
- How to change colors in c2c while minimizing the ends you’ll have to weave in later
- When to carry your yarn (and when not to carry your yarn!)
- How to keep your skeins of yarn organized while you work
Let’s get on with it!
Tutorial:
This tutorial assumes you are familiar with the basic structure of c2c crochet. If you aren’t familiar with c2c (or if you need a refresher), check out my beginner tutorial here.
Supplies:
- Category 4 (worsted weight) scrap yarn in two different colors
- 5.5mm crochet hook
Abbreviations:
- MC – main color (in my case, blue)
- AC – accent color (in my case, green)
- c2c – corner to corner
- ch – chain
- dc – double crochet
- yo – yarn over
- sl st – slip stitch
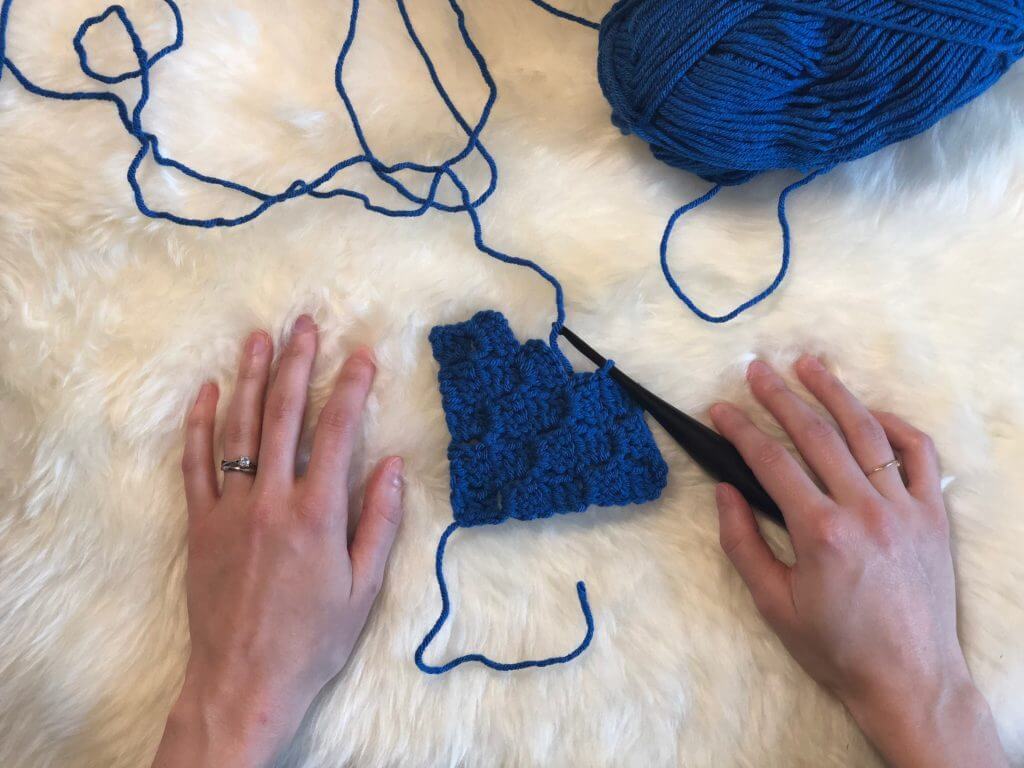
In this tutorial, I’m beginning with a c2c swatch already in progress. Create a c2c swatch using your MC yarn of choice and catch up to me on the 2nd tile of your 5th row.
Okay, now that we’re on our 2nd tile of the 5th row, we need to prepare for our color change. Our next tile needs to be made with accent color (AC) yarn, which I have ready to attach. Beginning your 2nd tile of the 5th row, ch 3, 2 dc in ch 3 sp. We will attach our AC yarn during the 3rd dc of the tile.
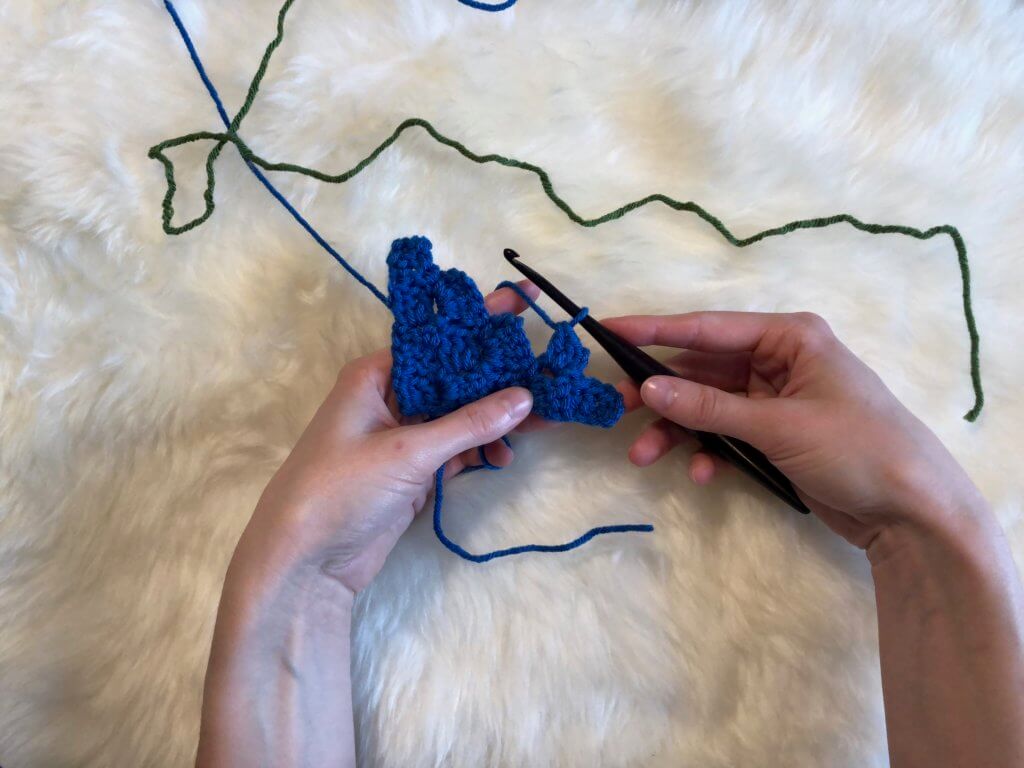
At the end of the 3rd dc, we will complete the FINAL yo, pull through 2 loops with our AC yarn.
So, my 3rd dc of this tile will look like: yo with MC yarn, insert hook into ch 3 sp, yo (MC), pull up a loop (3 loops on hook), yo (MC), pull through 2 loops (2 loops on hook), yo (MC), pull through 1 loop (2 loops on hook), yo with AC yarn, pull through 2 loops
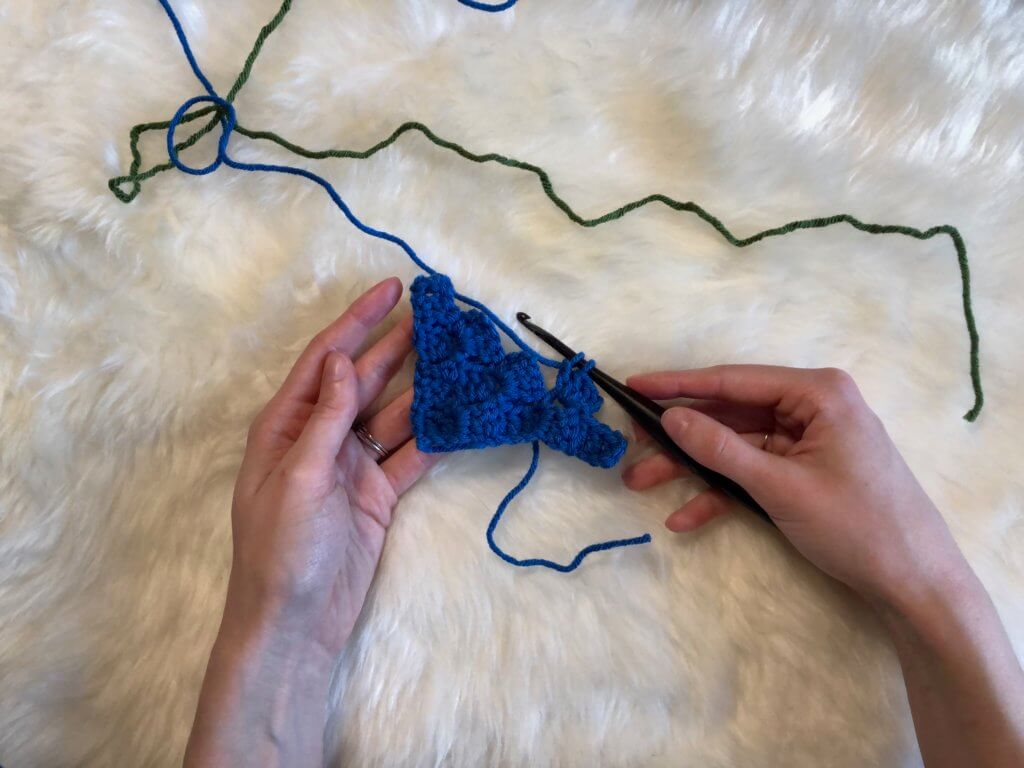
Now, our AC yarn is attached and ready to be used to create the next tile of our project. Attaching our new color in this way creates a seamless look for our c2c project – no awkward looking gaps between colors!
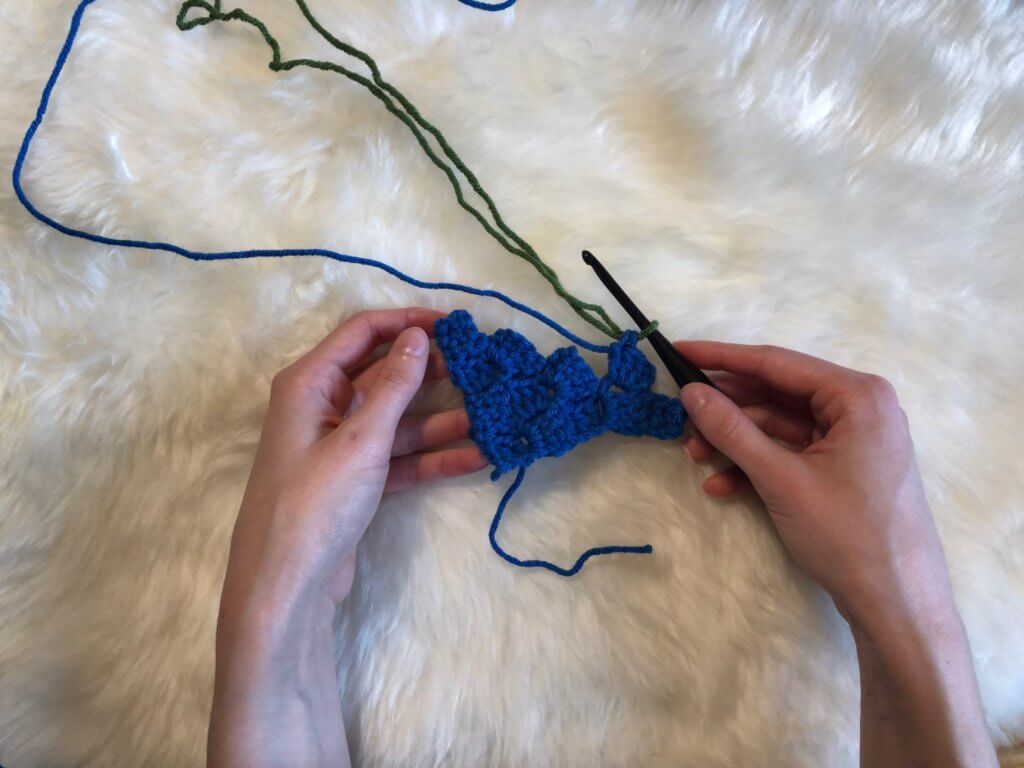
Now, before we sl st to join and create our AC tile, I will share with you my first tip on how to minimize ends to weave in!
Crochet over yarn tails whenever you can to minimize weaving in ends later.
To do this, hold the tail of the AC yarn that we just attached, and crochet over it as you work the next tile. This way, the tail will be covered up as you crochet, and you won’t have to weave it in later.

Now, continue on making your tiles as usual with the AC yarn, working over the tail as you go. In the photo above, you may notice that I have also carried up my MC yarn and am working over that as well. This is so that my MC yarn will be ready to work with when I need it again.
For this swatch, make 2 tiles using AC yarn. To complete the final dc of our 2nd AC tile and change back to MC yarn, we will use the same technique as we did previously.
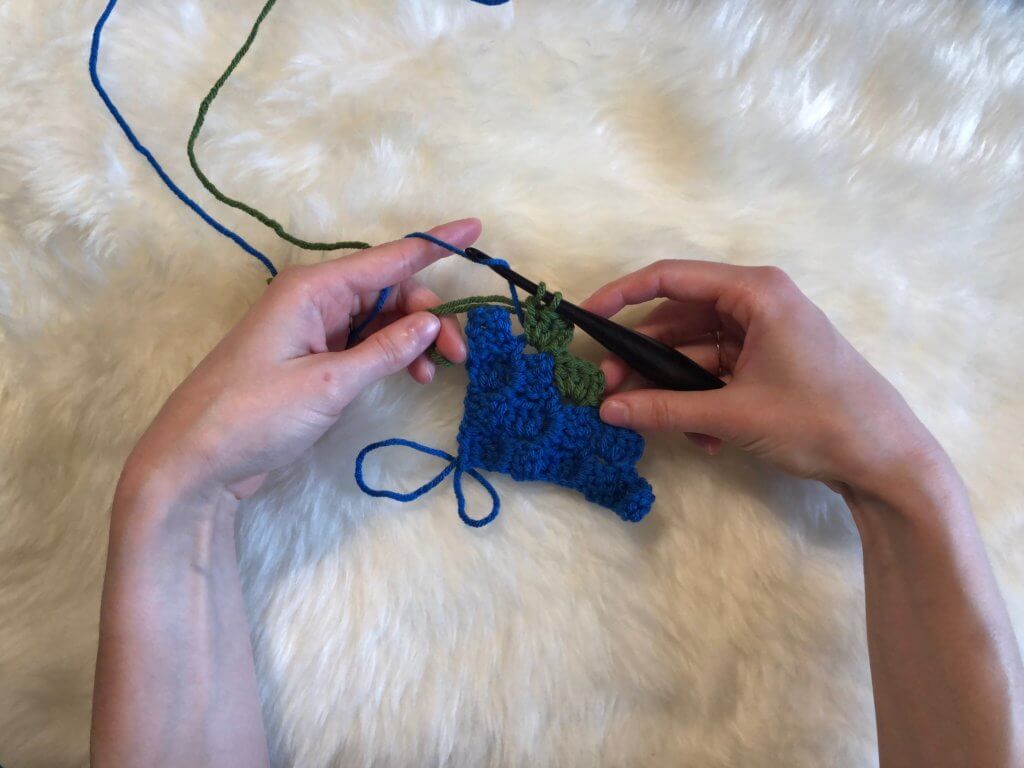
The final dc will look like this: yo with AC yarn, insert hook into ch 3 sp, yo (AC), pull up a loop (3 loops on hook), yo (AC), pull through 2 loops (2 loops on hook), yo (AC), pull through 1 loop (2 loops on hook), yo with MC yarn, pull through 2 loops
Now, finish up the row with MC yarn, leaving the AC yarn tail attached for when we need it again.
The number one tip I have for creating seamless color changes in c2c is this:
Only carry up yarn between tiles when at least one of the adjacent tiles is the same color as the yarn you are carrying.
This is why we left our AC yarn attached without carrying it up. Otherwise, we would be able to see the AC yarn peeking out on the wrong side of our project. Using this tip, you will create c2c projects that look flawless on both sides.
Note that I stopped crocheting over my AC yarn tail when I moved on to MC tiles, to prevent that tail from peeking out!
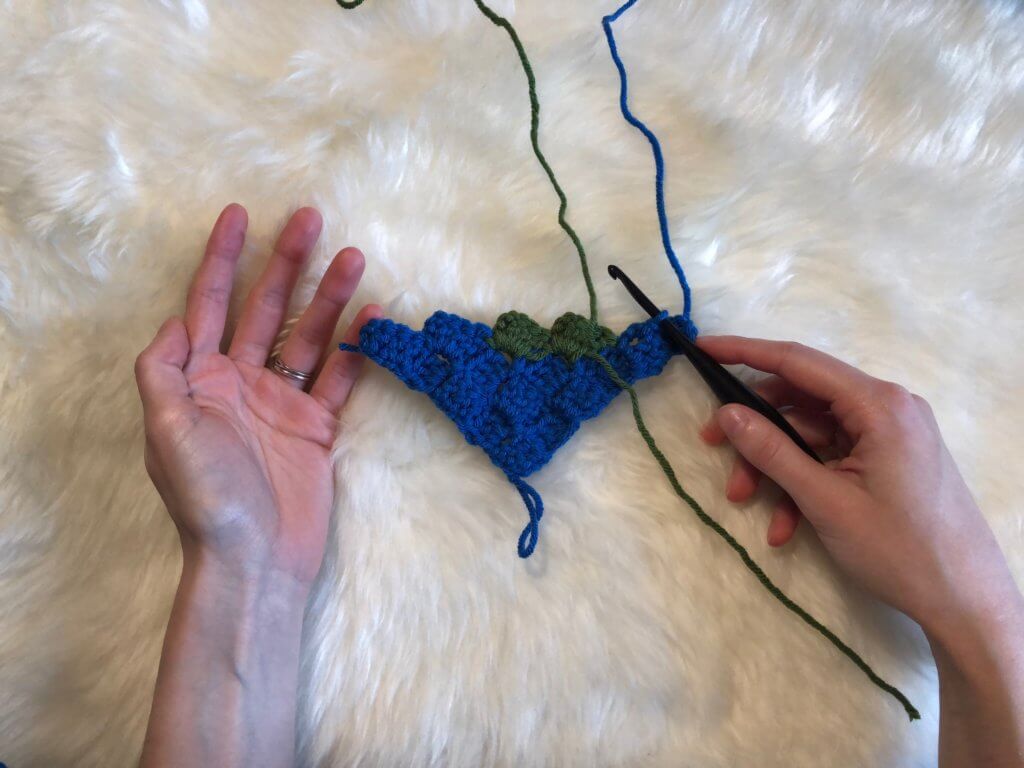
Now we’ve completed our 5th row and the first 2 tiles of our 6th row, and we are ready to use our AC yarn again. We will use the same technique as before to change colors (picking up the new color on the last yo of our dc).
When you are ready to use your AC yarn again, just pick it up from where you left off. Leaving the yarn attached and waiting to pick up when we need it again will also prevent having a bunch of ends to weave in! It is the same concept as crocheting over your yarn tails – less work for us later on!
Now we’ve completed 2 tiles using our AC yarn and we’re ready to pick up our MC yarn again – but it is all the way over on the other side of our AC tiles! We left the MC yarn attached but did not carry it up because the carried MC yarn would have passed between two tiles of AC yarn, and it would have peeked out on the wrong side of our project. However, we can’t pick up our MC yarn from the other side of our work, or we would have a big string of MC yarn showing on our finished project!

This brings us to our next c2c rule:
When it is not possible to carry one color of yarn without disguising it, attach a new skein.
In this case, we would attach a new skein of MC yarn to work with on this side of our work. When we come back this way on our next row, the original skein of MC yarn will be waiting for us to pick up and use again.
If you’re keeping track, we now have THREE skeins of yarn attached to our project! That is a lot of yarn to manage, especially if you’re working on a larger project like an afghan. Every time you turn your work, your yarn gets more and more tangled until you’re left with a huge mess at the end! This brings me to my final c2c tip:
Alternate the direction that you turn your work.
This means you will alternate between turning your work clockwise and counter-clockwise, which prevents your yarn from getting tangled.
This tip might seem like overkill, but I promise you’ll thank me when you don’t have to spend an hour untangling three skeins of yarn (been there, done that)!
I have also heard of other people using bobbins or dollar store paper towel holders to manage yarn in c2c crochet. I’ve never personally tried this, but if that sounds good to you, go for it!

This concludes my tutorial on how to get seamless color changes in c2c every time! Follow these tips (and my c2c beginner’s guide) and you will be a pro at c2c in no time!
What are your favorite crochet tips and tricks?

