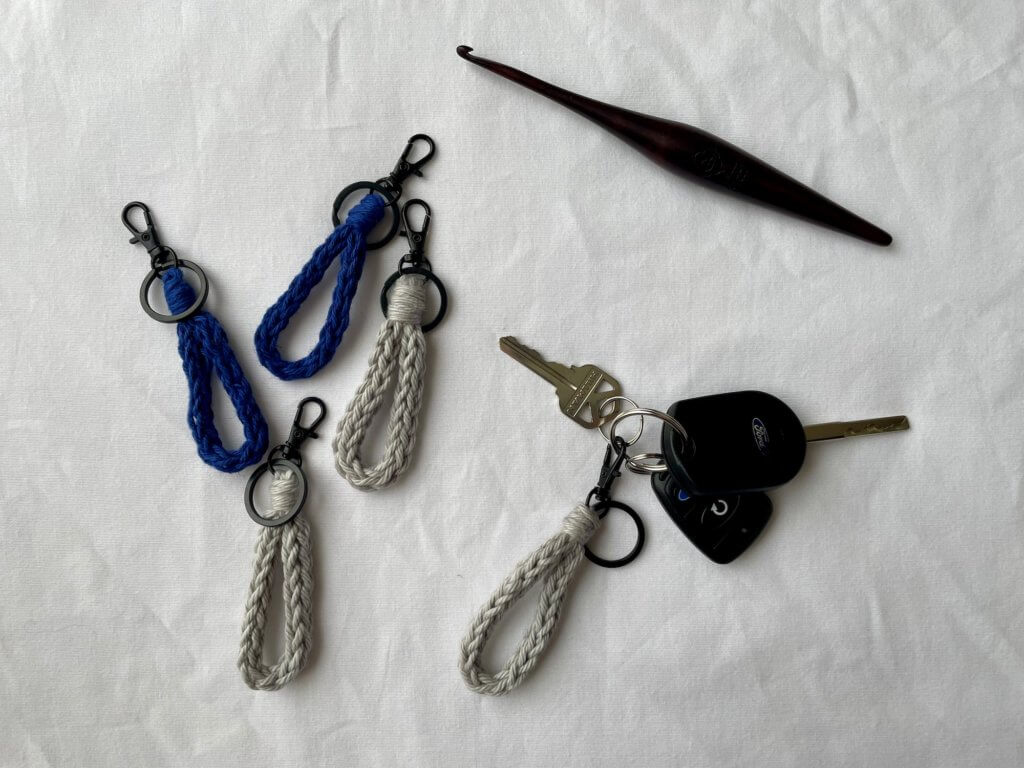
Quick and easy crochet loop keychain. Scroll down for the FREE pattern!
Inspiration:
This keychain idea came about when I was brainstorming quick and fun things to make for craft fairs. I love participating in my local fairs and markets, and sometimes you just need a few small trinkets to round out your offerings.
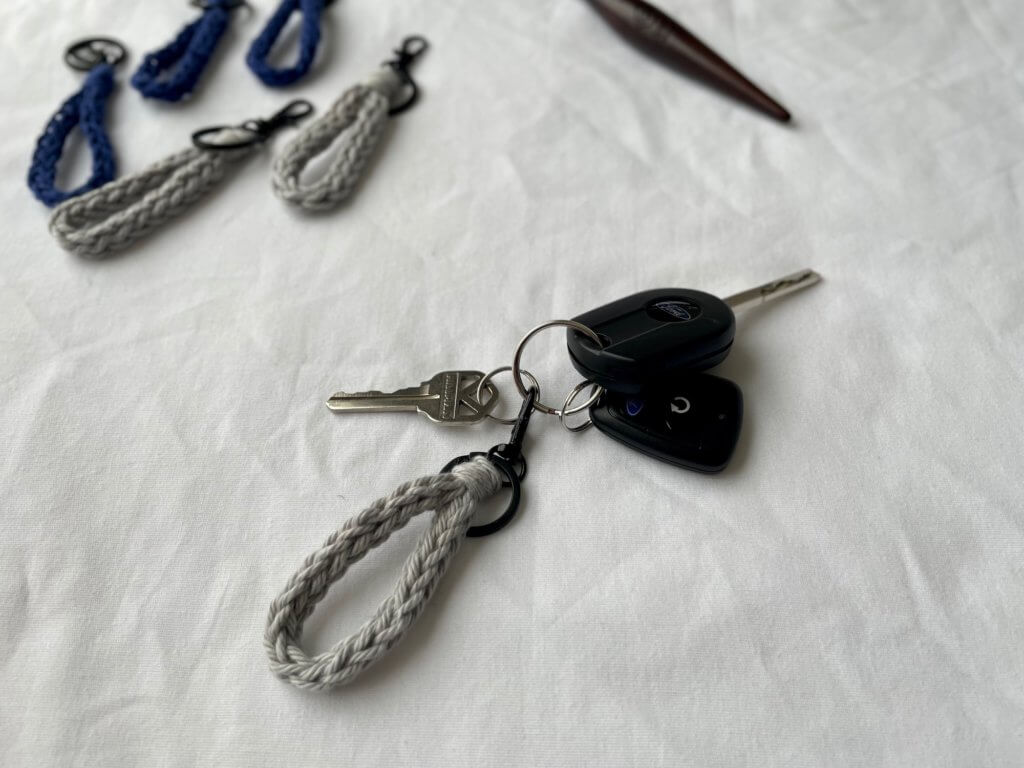
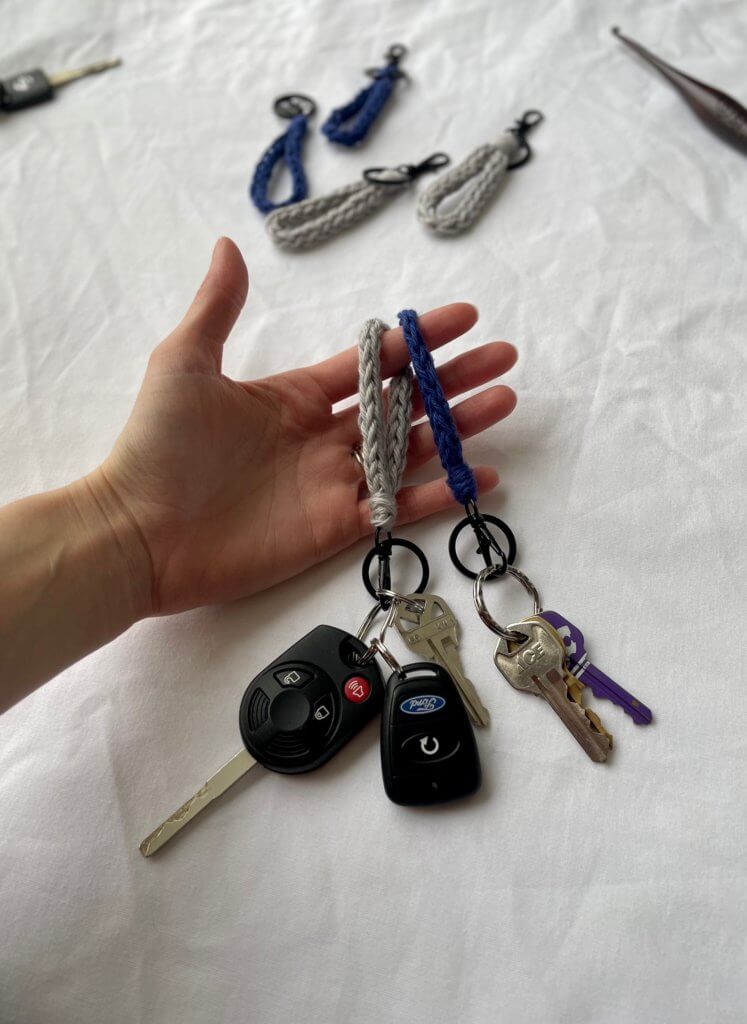
This quick make is purely practical with a swivel lobster clasp, split key ring, and a crochet i-cord loop. I think loop keychains are the way to go, because it gives you something to hold onto when you’re trying to carry ALL of the grocery bags into the house in one trip.
Yarn:
The great thing about this keychain is that it’s 100% customizable – you could use any scrap yarn that’s in your stash. Worsted weight, sport or DK weight, even Bulky, depending on how large you want your keychains to be.
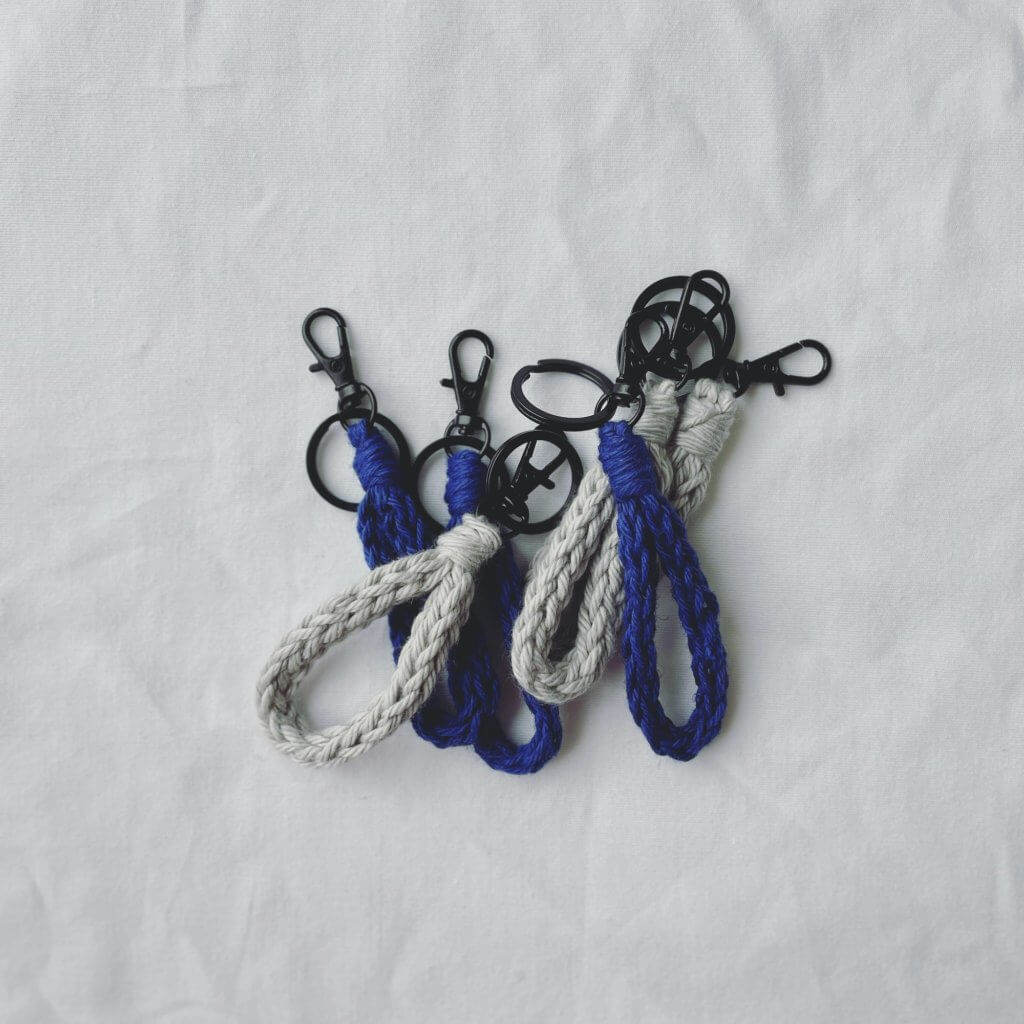
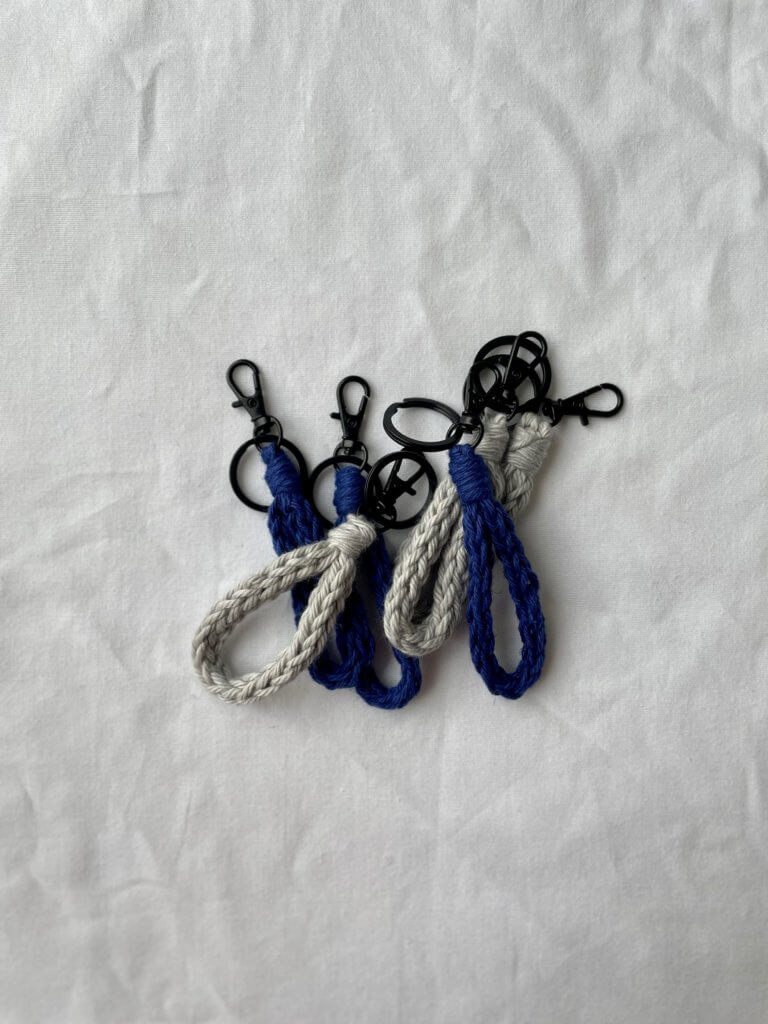
I recommend going with a cotton or cotton blend yarn because they tend to be a bit sturdier than acrylic yarns. I made a few keychains using I Love This Cotton in Dove, which is worsted weight, and WeCrochet’s CotLin in Nightfall, which is DK weight. You can see the difference in size above!
I love how these keychains turned out, especially the blue ones made with CotLin. They are thinner, but have a little less stretch and feel sturdier than the I Love This Cotton.
Techniques:
If you’ve made a crochet i-cord before, then this keychain will be a breeze for you to whip up!
If you aren’t familiar with the crochet i-cord technique, it’s essentially a series of 3 foundation chains that you work up together into a thick, sturdy cord, giving a nice braided look. I have detailed, step-by-step instructions on how to make an i-cord below, but there are plenty of great tutorial videos online if you get stuck.
Pattern:
Supplies:
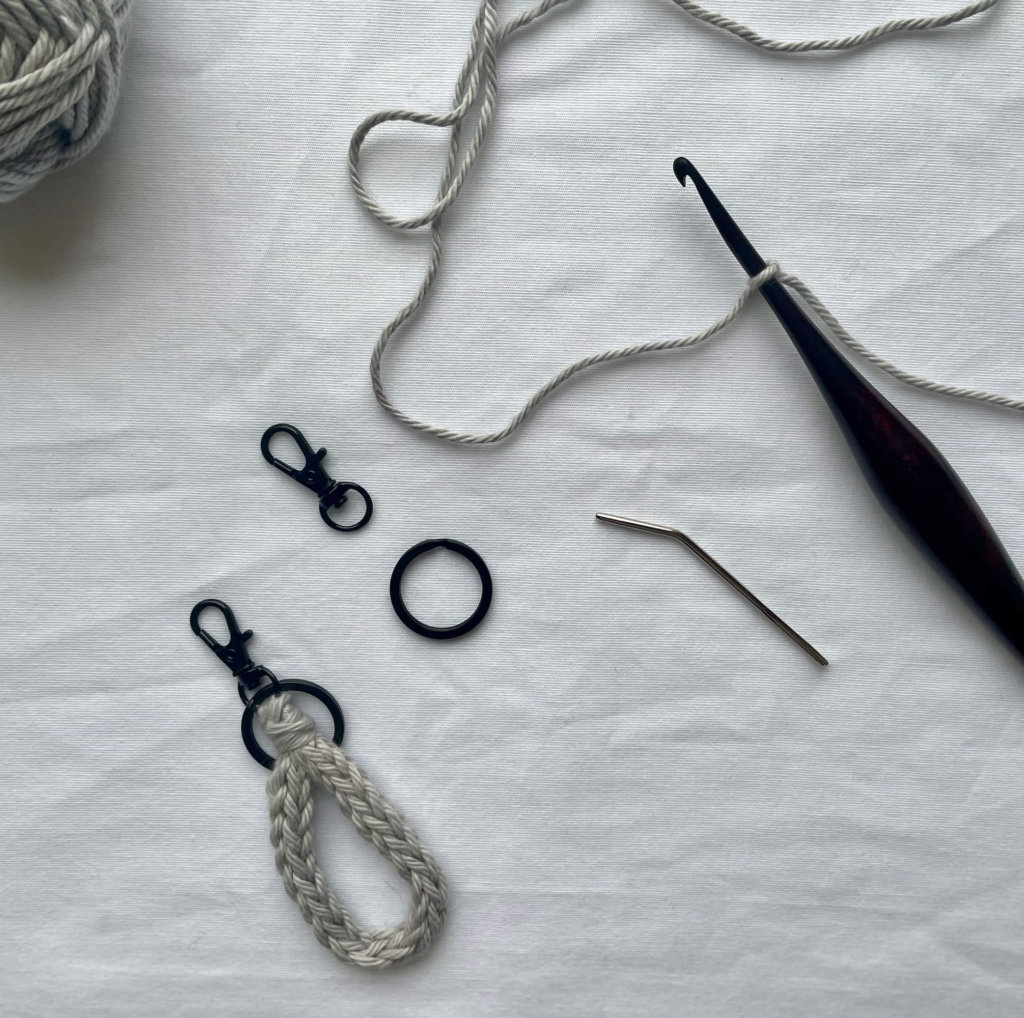
- 4.5 mm (G+) crochet hook, or 1 size smaller than what’s recommended for the yarn weight you chose
- Scrap yarn of your choice, I loved using WeCrochet’s CotLin yarn!
- Keychain hardware, including swivel clasps and split key rings
- Tapestry needle
Abbreviations:
- sl st – slip stitch
- ch – chain
- yo – yarn over
Notes:
- this pattern uses the crochet i-cord technique
- any yarn weight will work for this pattern, it will just change the thickness of your i-cord
- you can customize the length of the keychain loop by making your i-cord shorter or longer
Pattern:
begin by slip stitching your yarn onto the clasp (not the key ring!)
make an i-cord as follows:
Step 1: ch 3
Step 2: insert hook into 2nd ch from hook, yo, pull up a loop (2 loops on hook)
Step 3: insert hook into 3rd ch from hook, yo, pull up a loop (3 loops on hook)
Step 4: slip 1st 2 loops off hook and carefully hold in place (1 loop on hook)
Step 5: yo, pull through remaining loop on hook (1 loop on hook)
Step 6: insert hook into slipped loop closest to hook (2 loops on hook)
Step 7: yo, pull through 1 loop (2 loops on hook)
Step 8: insert hook into final slipped loop (3 loops on hook)
Step 9: yo, pull through 1 loop (3 loops on hook)
Repeat steps 4-9 until your i-cord measures 6″ long, or until it is your desired length
yo, pull through all 3 loops on hook
sl st end of i-cord onto the clasp, right next to the beginning of your i-cord
Finishing:
break yarn, leaving an 18″ long tail, and fasten off
wrap yarn tail around both ends of the i-cord, securing them together
keep wrapping until you’re satisfied with the look of the binding
using a tapestry needle, pull the yarn tail through the top of the binding and out through the bottom
weave in all ends
All Done!
I hope you enjoy your new keychain. If you make these for your next craft fair or market, let me know in the comments below how they do for you. Cheers!
