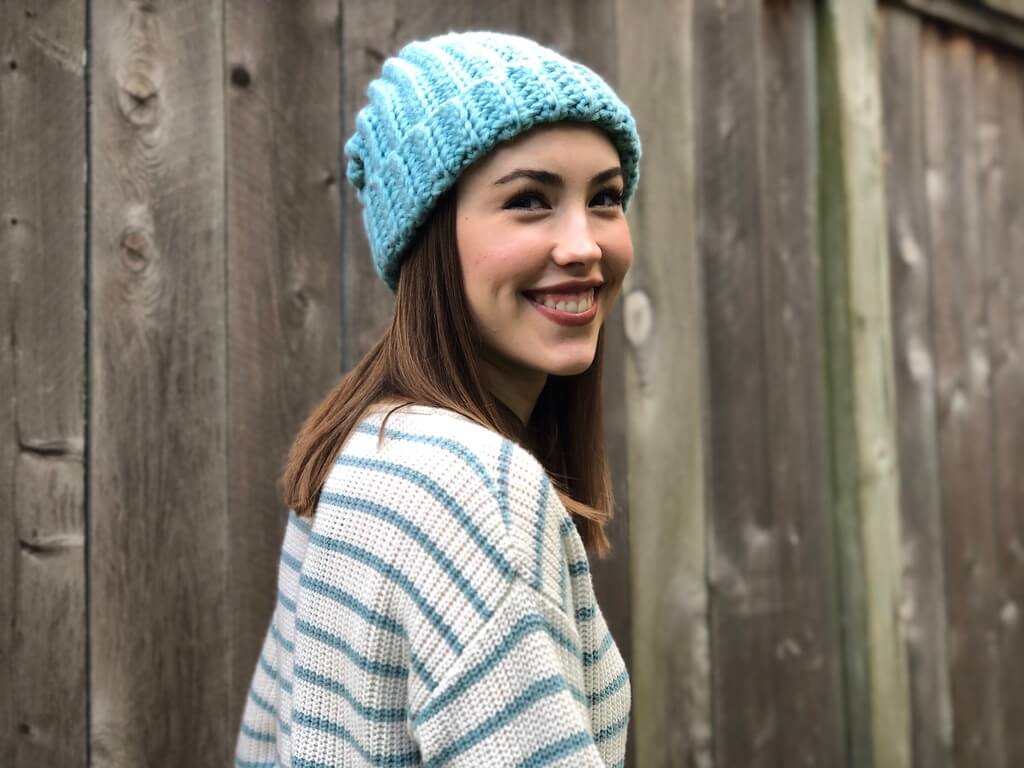
Easiest beginner crochet hat made from a rectangle. Scroll down for the FREE pattern!
Inspiration:
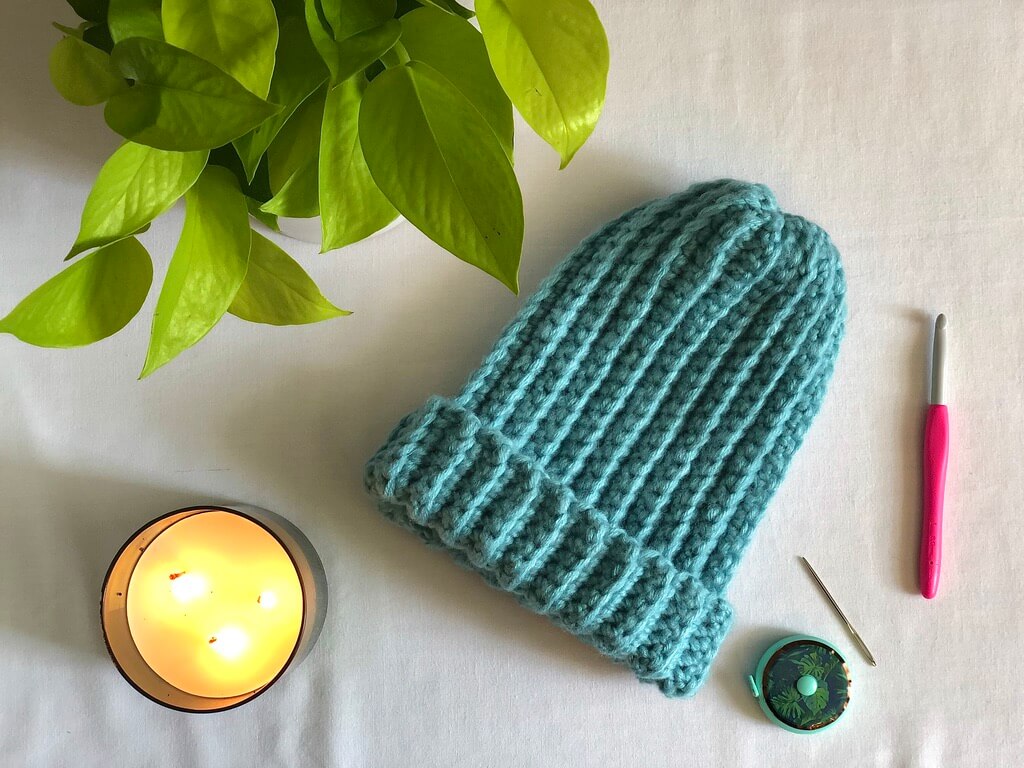
I designed the Dreamy Beanie because I wanted a chunky, oversized, ribbed beanie that was easy to make. Like, really easy. This is the perfect pattern for beginner crocheters because it is made from a rectangle using only single crochets! You can wear it folded with a brim, or unfolded and extra slouchy. Either way, the Dreamy Beanie is super soft and warm!

Yarn:
The Dreamy Beanie was heavily inspired by the yarn I chose, Red Heart Dreamy. (Hence the name!) Red Heart Dreamy is an acrylic yarn that has been brushed to give it a soft, fluffy, mohair-like halo. And, boy, is it dreamy! This yarn is so beautiful and it comes in a gorgeous array of soft, muted colors. I chose Aqua for my beanie (and it is probably the brightest one of the bunch), but I have been eyeing the colorways Buff and Paprika.
Techniques:
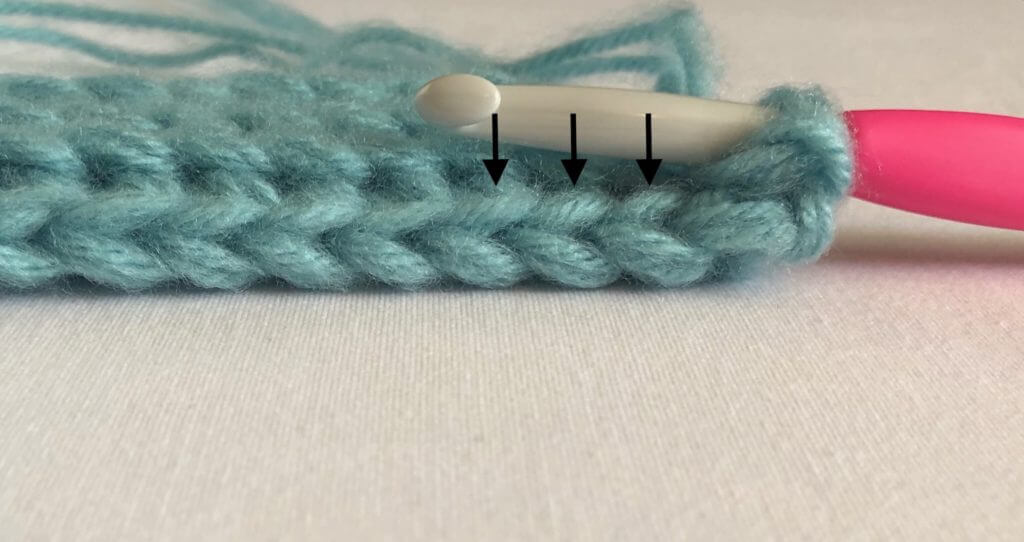
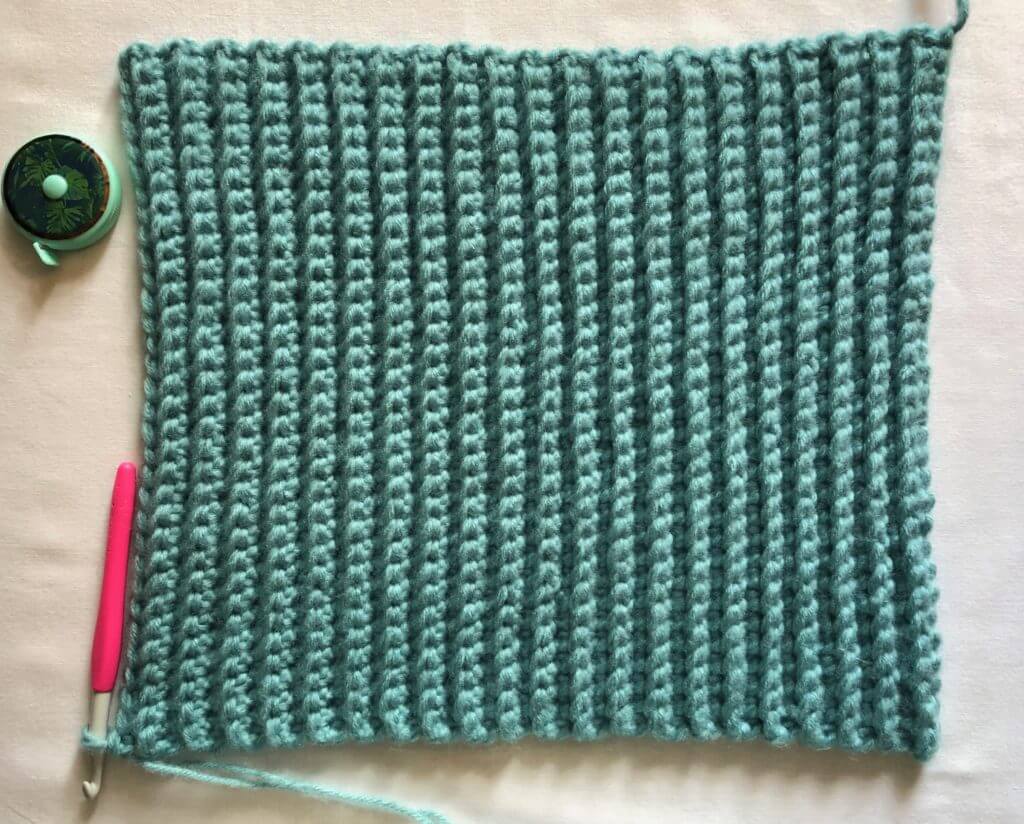
This crochet hat pattern is made from a rectangle that is folded, seamed together to create a tube, and then cinched around one end to create the top of the beanie. To make the rectangle, you will use two strands of yarn held together to get that chunky look. The skeins of Red Heart Dreamy are huge and one of them is plenty of yarn to make a beanie, so I pull one end from the center of the skein and the other from the outside to get my two strands. This way I don’t have to buy two skeins and have a bunch of yarn left over! The ribbing of the Dreamy Beanie is creating by back loop only single crochets. Once you get used to locating the back loop, this pattern flies by and you will be finished in no time.
To seam the rectangle, you will fold it in half and slip stitch through the final row and the foundation chain at the same time, leaving a long tail after fastening off. Then, to cinch up the top of the hat, you will stitch along the rough edge of the tube, pulling it tight as you go. Stitch through the top in a star-shaped pattern to close it up, and you have your very own, beginner friendly, crocheted beanie! Now, on to the pattern!
Pattern:
Get the ad-free, printable, PDF version here.
Supplies:
- 8mm (L) crochet hook
- One skein of Red Heart Dreamy yarn (I used Aqua)
- Tapestry needle
Gauge:
- 12 rows of 10 sts = 4″ square
Dimensions:
- Finished rectangle before seaming, approximately 14.5″ x 12.5″
Abbreviations:
- ch – chain
- blo – back loop only
- sc – single crochet
- sl st – slip stitch
Notes:
- this pattern is worked using two strands of yarn held together, one end from the center of the skein and one end from the outside
- the ribbing is creating using the back loop only single crochet stitch (pictured above)
- this is a one size fits most pattern, but you can alter the size by crocheting more or fewer rows
- turning chain does NOT count as a stitch
Pattern:
Holding two strands of yarn together, ch 33
Row 1: sc in 2nd ch from hook, sc in ea st across (32)
Row 2: ch 1, turn, blo sc in ea st across (32)
Rows 3 – 42: repeat Row 2
Move on to seaming.

Seaming:
After Row 42, ch 1, turn, and fold work in half, holding final row and foundation chain together.
Sl st through both final row and foundation chain at the same time. Continue in ea st across, creating a tube.
Break yarn, leaving a long tail about 2′ in length. Fasten off.

Cinching:
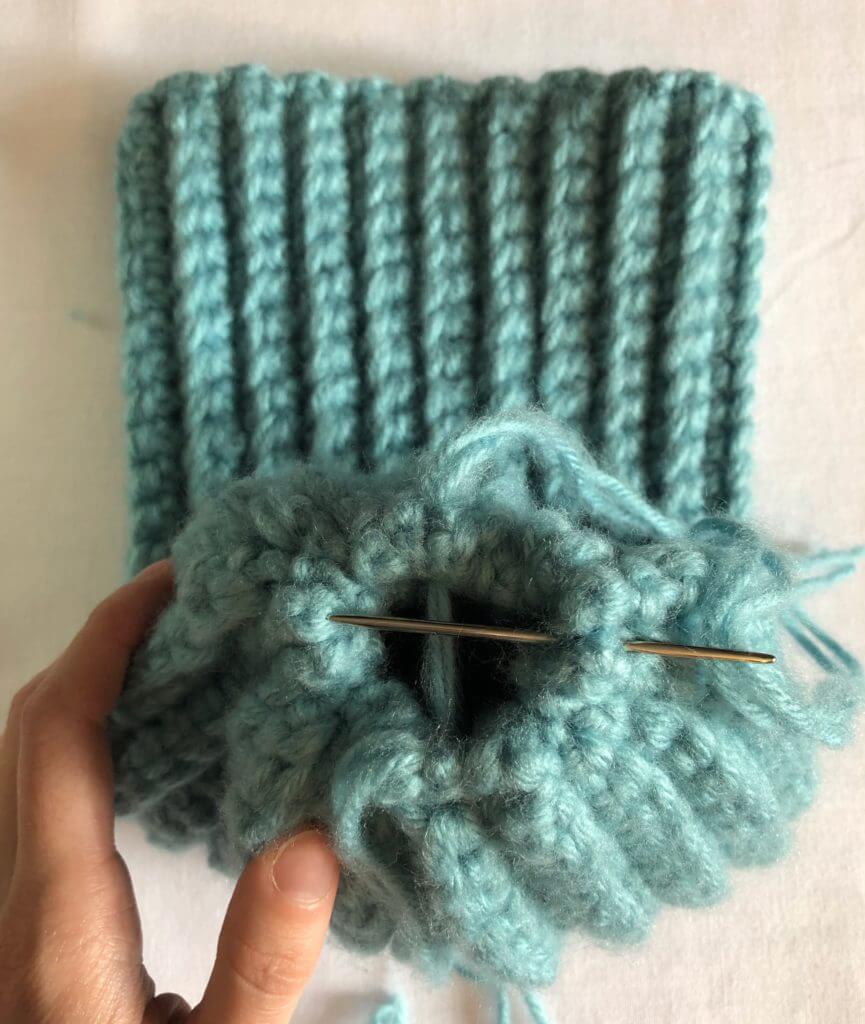
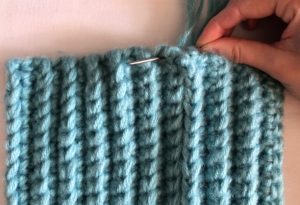
With your tapestry needle, weave the yarn in and out along the rough edge of the seamed tube, needle pointing away from you on “raised” rows, and toward you on “depressed” rows. (This is how I like to do it, but this doesn’t have to be exact.)
Continue around, pulling the yarn tail tight as you go.
Once you’ve stitched around the rough edge of the beanie, pull the yarn tail tight. Stitch the top closed by running your needle through the rough edges in a star pattern (pictured below). Keep stitching and pulling tight until you are satisfied with the look of the top of the beanie.
Break yarn, weave in ends, and enjoy!
