Possibly the most luxurious cowl pattern that has ever existed. Scroll down for the FREE pattern.
Inspiration + Yarn:
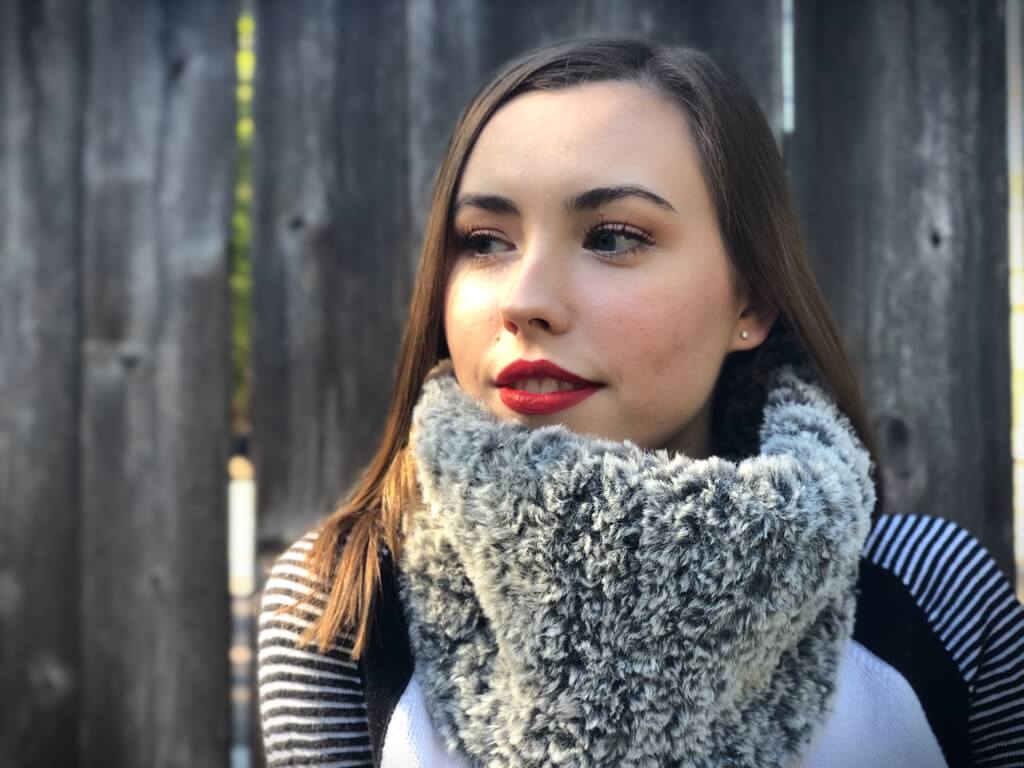
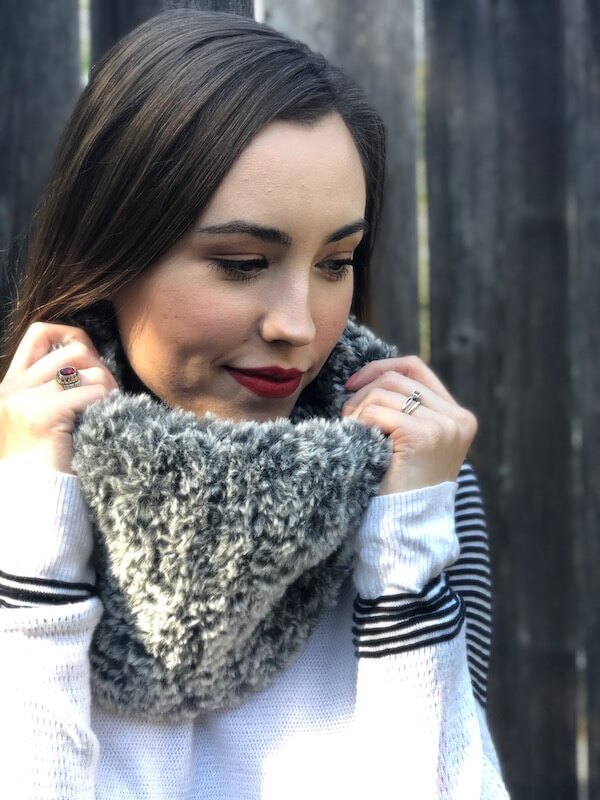
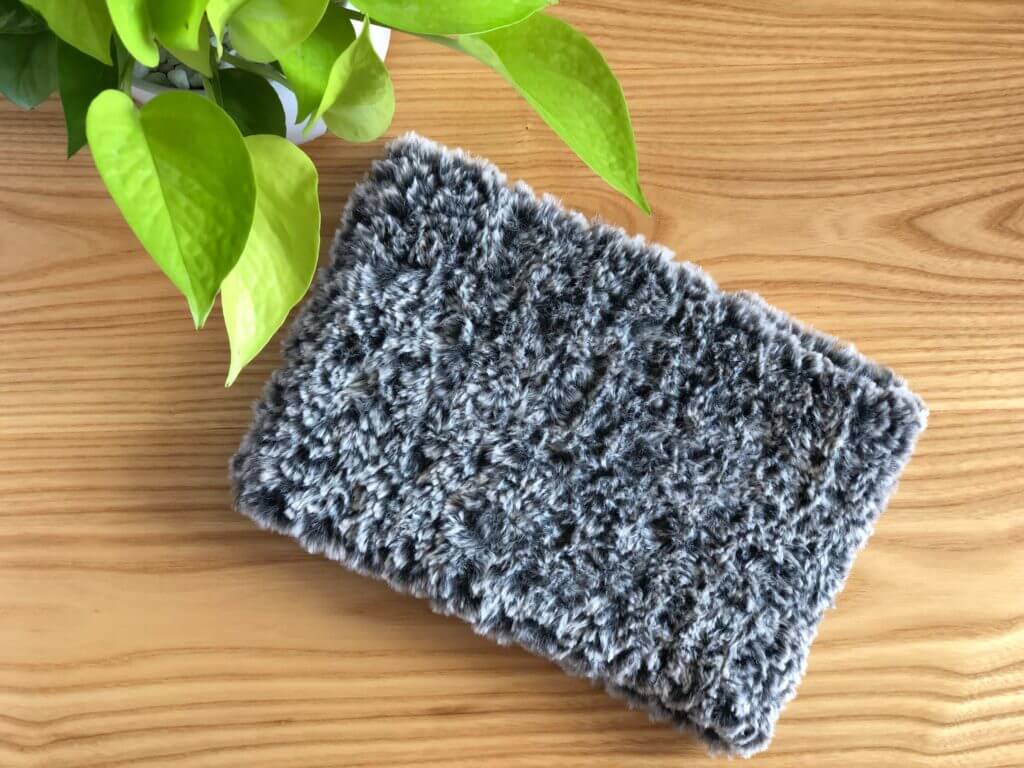
I was inspired to design this pattern the moment I laid eyes on Lion Brand’s Go For Faux yarn. I saw it and I immediately knew I wanted to snuggle into a big pile of it. Since I couldn’t both curl up in a big pile of faux fur yarn AND live my normal life, I came up with the next best thing: the Luxe Faux Fur Cowl. Wearing this baby around is the most heavenly experience. It’s warm and soft and makes me feel fancy! I mean, just look at it!

I designed the Luxe Faux Fur Cowl to be a bit smaller than usual so it would fit close to the neck. I wanted that extra-cozy feeling of being wrapped up in softness. Making it smaller also gave the cowl a bit more stability, allowing it to “stand up” and come all the way up to the chin. I like to wear it this way on the coldest winter days because it keeps me extra warm, but you can also wear it scrunched down around your neck. No matter how you wear it, you’ll be looking extra luxe this winter!
Lion Brand Go For Faux is not your average faux fur yarn. I remember playing around with “faux fur” eyelash yarn as a kid and, let me tell you, this is nothing like that stuff! I don’t know how Lion Brand does it, but this is the softest yarn I have ever used! I’ve made one of these cowls in just about every color of Go For Faux because I couldn’t choose just one (as you can see above), but my favorites would have to be Mink (above, center) and Blonde Elk (above, top left). What can I say, I’m a neutrals girl through and through.

Techniques:
I designed this pattern to be super simple. It’s made from just one rectangle that is slip stitched together to form a tube. I wanted the stitches and pattern to be simple because, let’s face it, faux fur yarn can be a bit difficult to work with. Because of this, I consider this pattern to be at an Intermediate level. Don’t let that scare you, though! My greatest tip I can give you is to identify your stitches by feel rather than by sight, and to count your stitches after every row. If you feel confident in your ability to identify stitches by feel, then you can definitely make this cowl! Without further ado, onto the pattern!

Pattern:
Get the ad-free, printable, PDF version here.
Supplies:
- 10mm (N/P) crochet hook
- Two skeins Lion Brand Go For Faux Yarn (I used Mink)
- Tapestry needle
Gauge:
- 9 rows of 8 stitches = 4″ square
Dimensions:
- Final rectangle before seaming, approximately 24″ x 8″
Abbreviations:
- ch – chain
- sc – single crochet
- sl st – slip stitch
Notes:
- be sure to count your stitches after each row
- identify stitches by feel rather than by sight
- turning chain does NOT count as a stitch
- this is a one size fits most pattern, but you can alter the width by increasing the number of starting chains, or alter the length by crocheting more or fewer rows
Pattern:
ch 16
Row 1: sc in 2nd ch from hook, sc in ea st across (15)
Row 2: ch 1, turn, sc in ea st across (15)
Repeat Row 2 until rectangle reaches 24″ in length
Move on to seaming
Seaming:
After final row, ch 1, turn
Fold work over so that final row meets foundation row
Sl st across, working through both final row and foundation row, to create a tube
Fasten off, weave in ends, and enjoy!
